Customizing AI Prompts
You can customize the prompt sent to the AI service in two ways:
- Adding new prompts via the AI Prompt CPT, and then selecting the one in the Settings
- Overriding the default prompt
Adding new prompts via the AI Prompt CPT
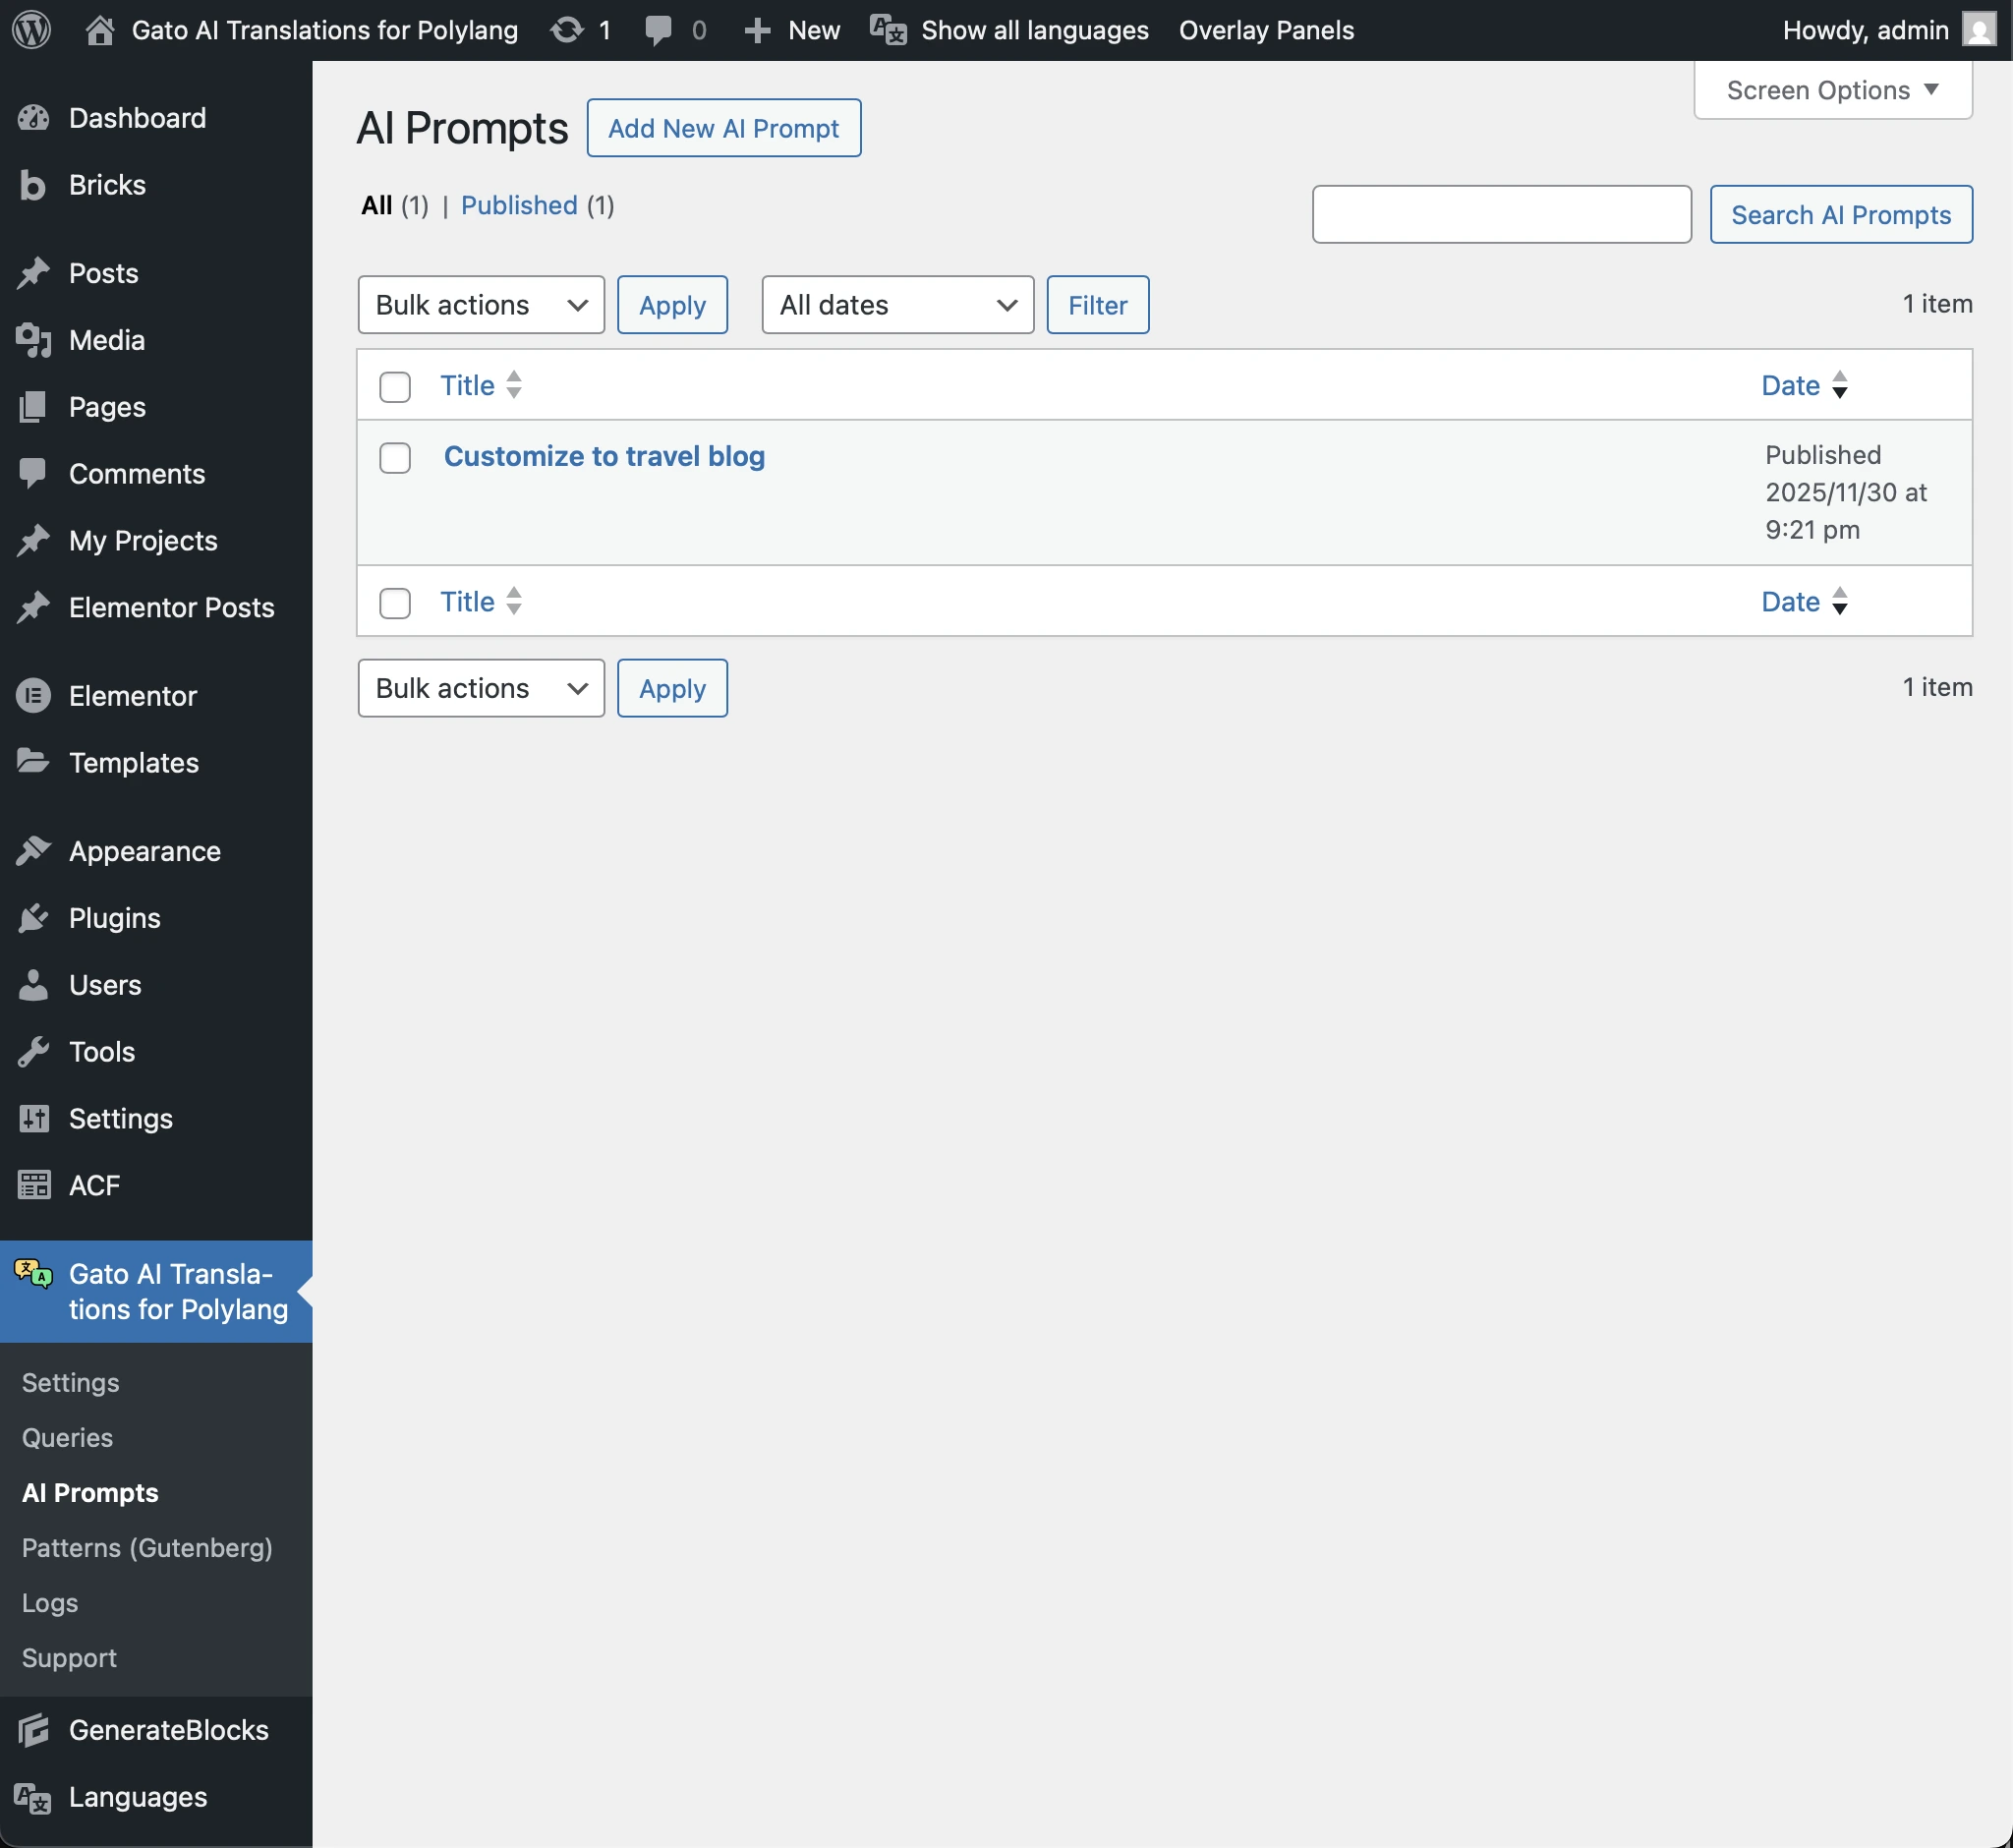
You can create custom AI prompts using the AI Prompt custom post type. This allows you to define multiple prompts and select which one to use in the Settings.
To create a new prompt, go to AI Prompts in the plugin's menu and click Add New AI Prompt:
Each AI prompt has its own system message and prompt template:
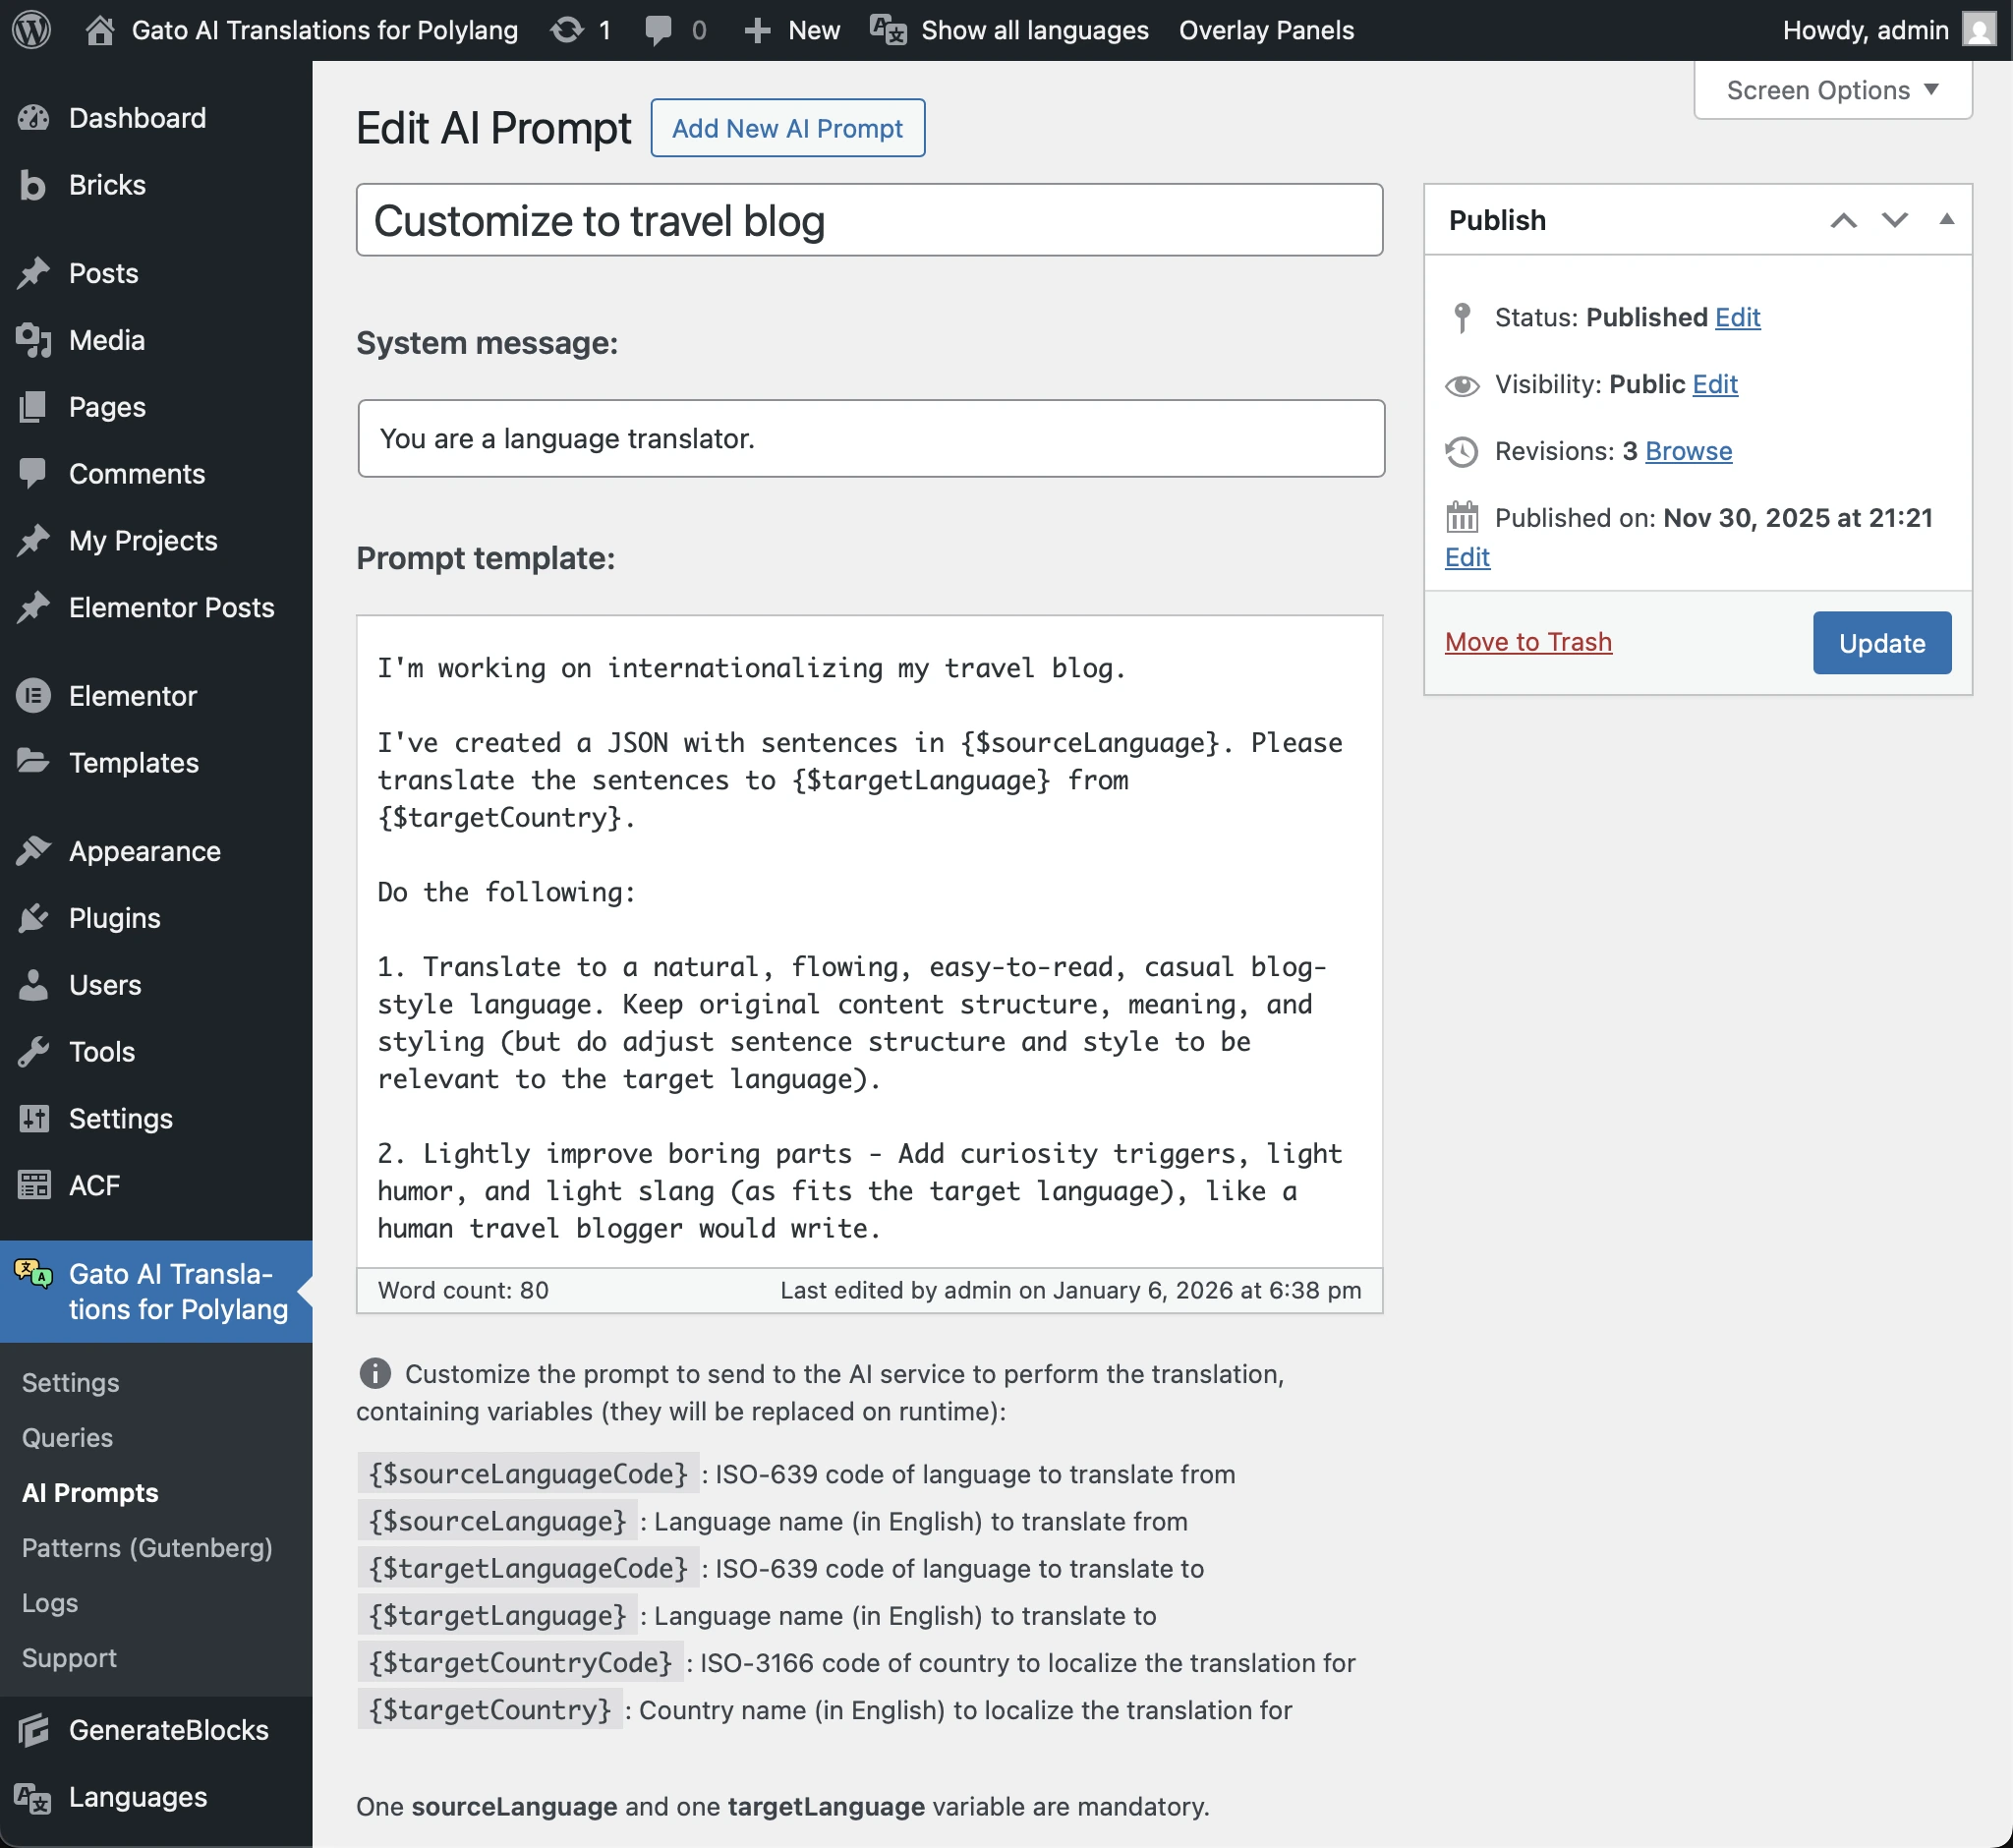
The prompt is handled as a "template", containing variables that will be replaced on runtime:
{$sourceLanguageCode}: ISO-639 code of language to translate from{$sourceLanguage}: Language name (in English) to translate from{$targetLanguageCode}: ISO-639 code of language to translate to{$targetLanguage}: Language name (in English) to translate to{$targetCountryCode}: ISO-3166 code of country to localize the translation for{$targetCountry}: Country name (in English) to localize the translation for
At least one source language variable (either {$sourceLanguageCode} or {$sourceLanguage}) and one target language variable (either {$targetLanguageCode} or {$targetLanguage}) are mandatory.
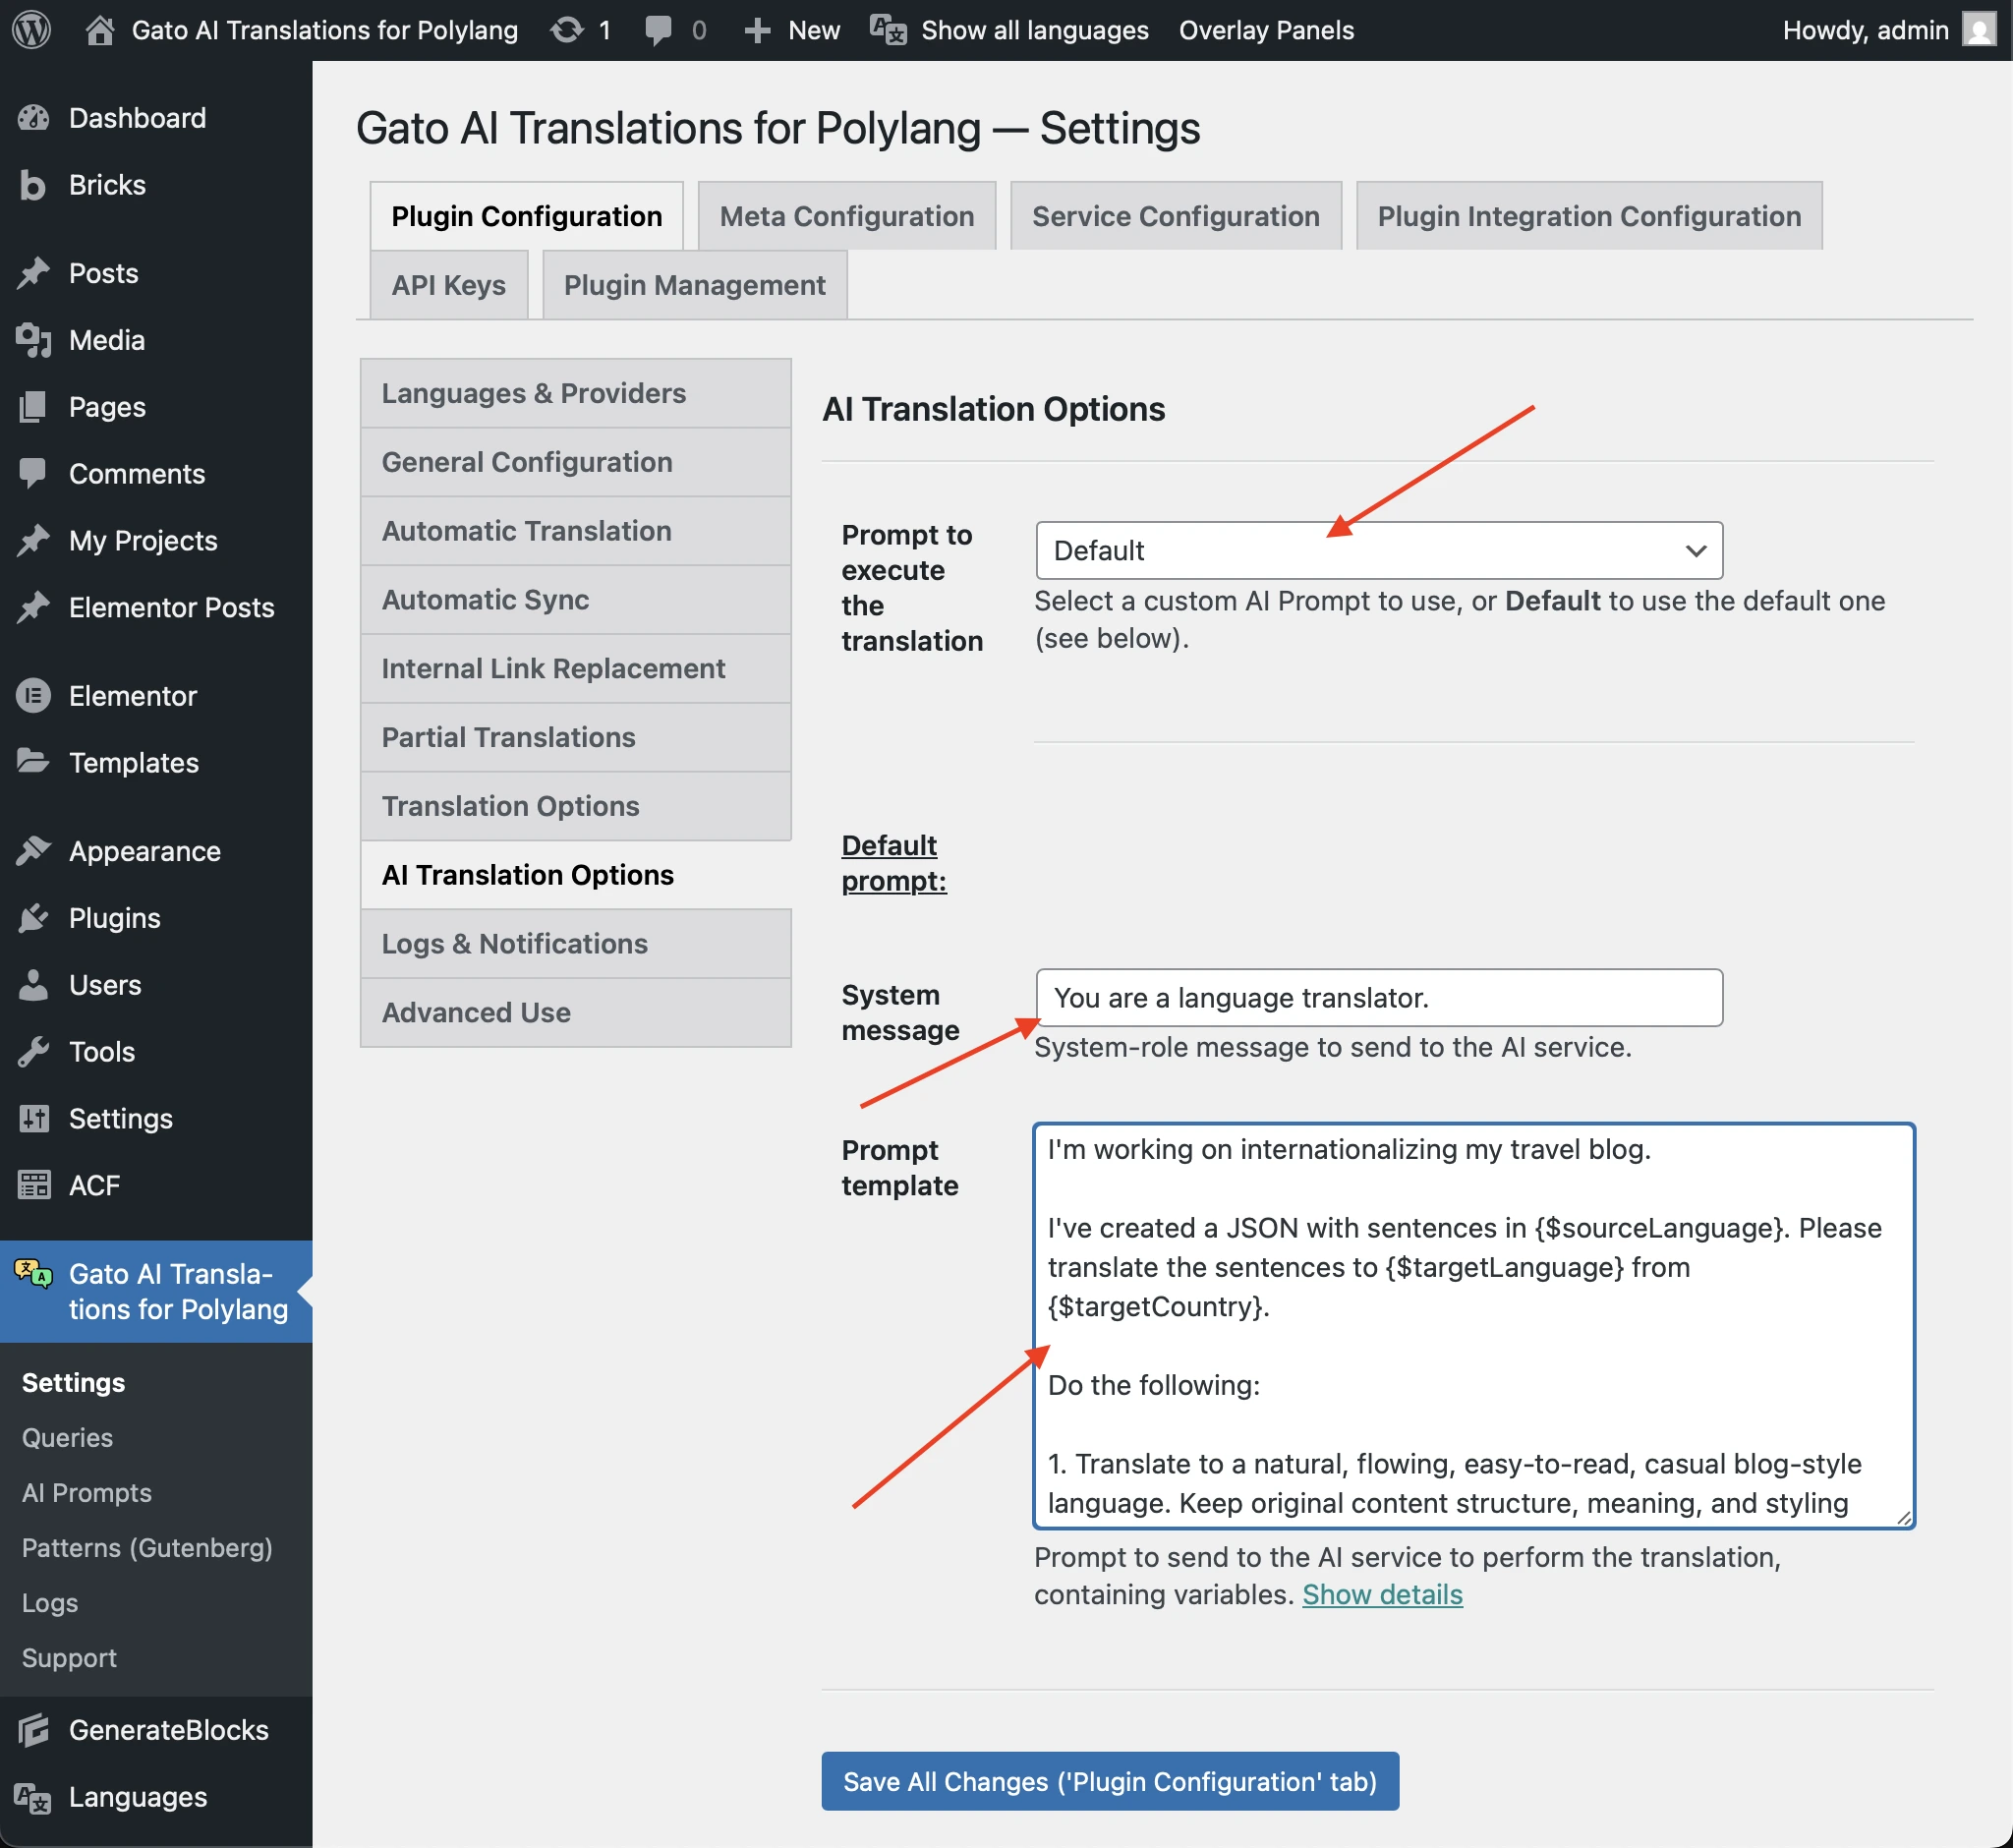
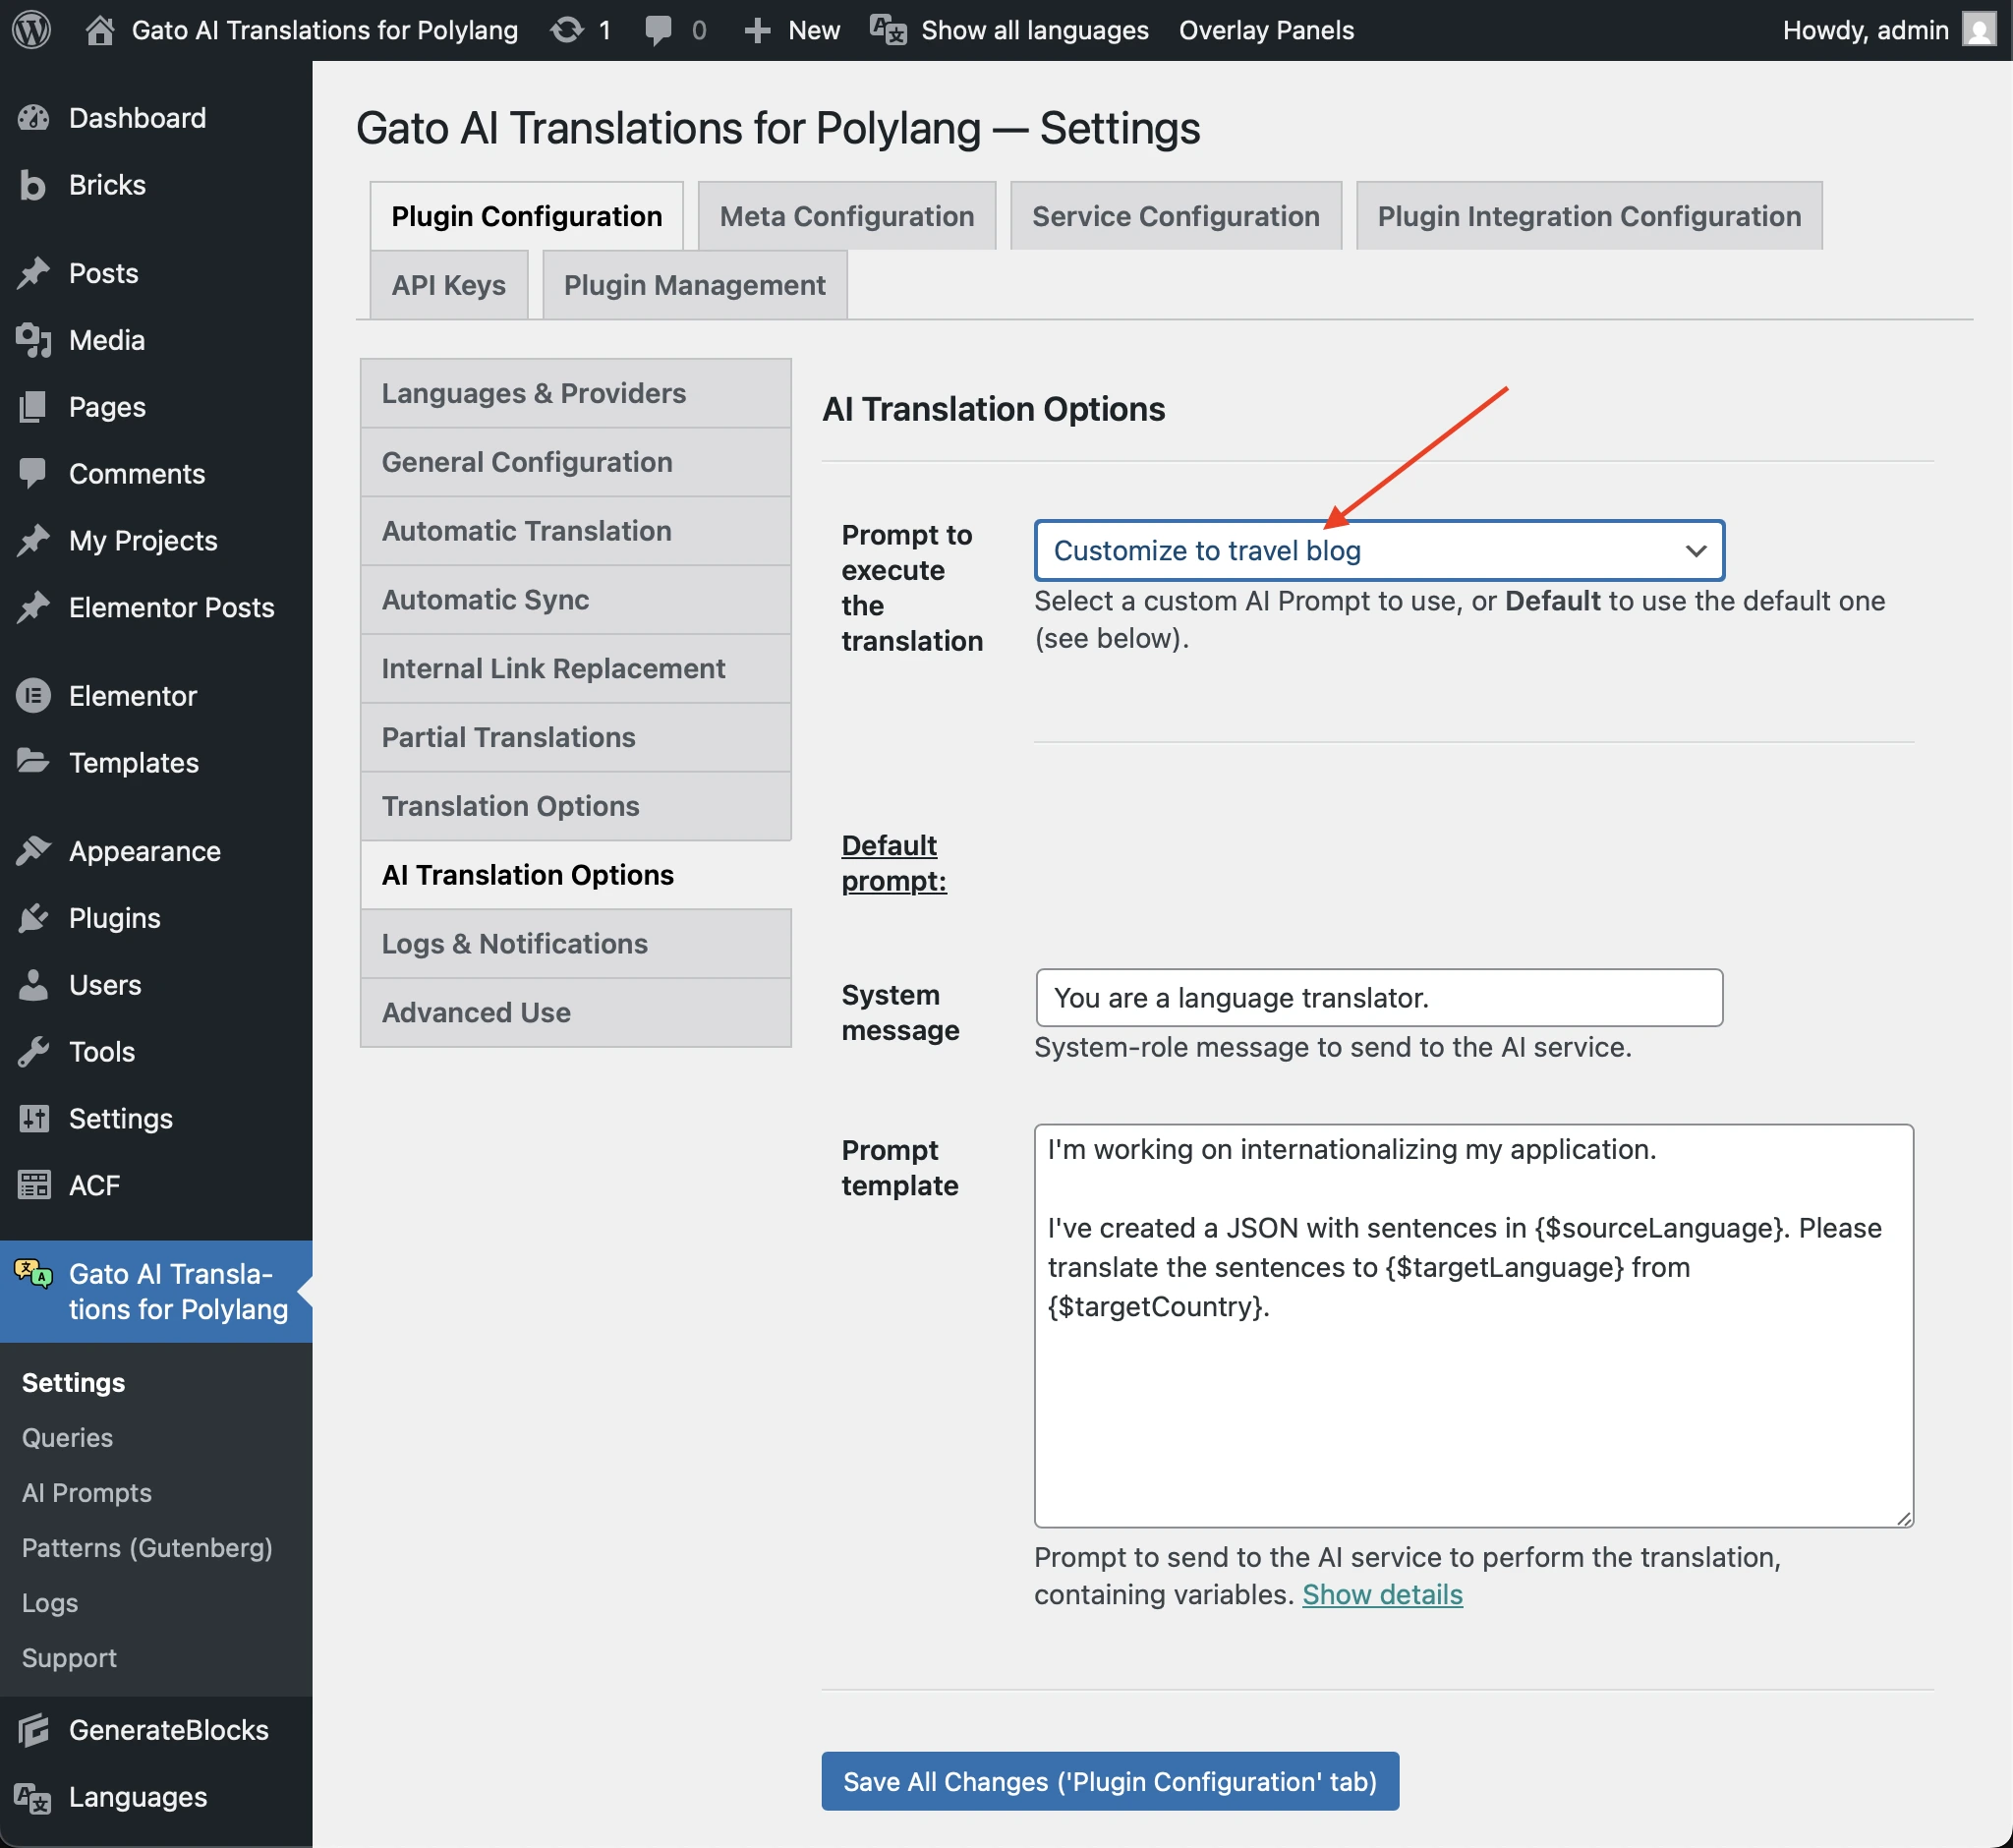
To use a custom AI prompt, go to Plugin Configuration > AI Translation Options in the Settings, and select the prompt from the dropdown:
Overriding the default prompt
You can also override the default prompt directly in the Settings, to be used when the dropdown has Default selected.
Go to Plugin Configuration > AI Translation Options in the Settings, and under Default prompt, modify the System message and Prompt template fields: